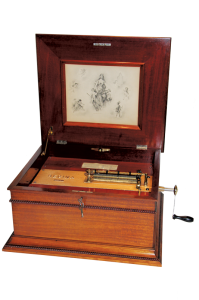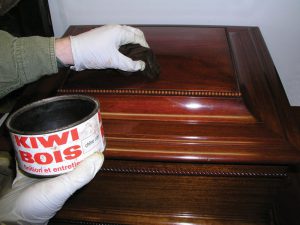
When disassembling a music box take pictures of every part that is removed, before and after removal. You may think you will remember all of the details when it is time to reassemble but chances are you won’t and your pictures will be an invaluable reference tool.
Initial Observations
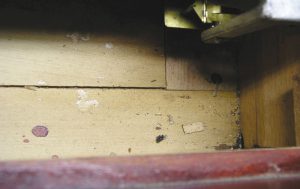
Always inspect the inside of the music box case for any parts that might have fallen off or for broken pieces that might be missing. Also check the sound board for any cracks, feet on the bottom of the music box that might be missing or loose, or any loose moldings or case joints that need attention.
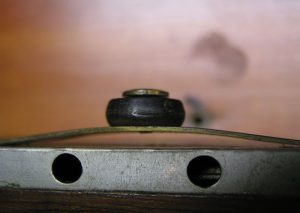
Look at the disc dishing rollers for any wear, flat spots, or rollers that won’t turn freely. Rollers with flat spots should be replaced and rollers that don’t turn freely should be cleaned or oiled as necessary.

Inspect the rollers over the drive sprocket for wear and make sure they turn freely. Replace if necessary.

Check disc hold down rollers for wear or flat spots. The diameters should all fall within a 0.004” range, preferable within a 0.002” range. Replace as necessary.
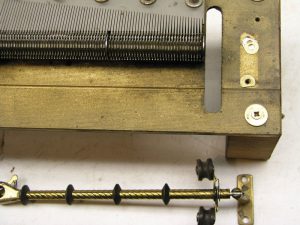
When removing the disc hold down bar check for any shims under the support, note how thick these are and where they are placed so they can go back in the same place.

Clean out the dirt and dust from the dampers being very careful not to bend the dampers. Never loosen or move the star wheel gantry, damper rail, or center post as these were set at the factory and are very difficult to get back in the right place.
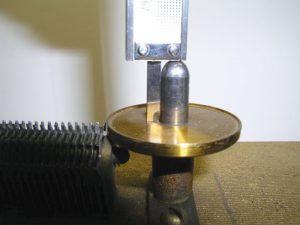
Before removing the center disc support from the center post, measure the dimension from the top of the center post to the support surface where the disc rides. A dial caliper works fine for this purpose.

The height of the disc support can also be set by placing a straight edge across the tops of the disc spacer rollers. The top of the disc support surface should be in line with the straight edge.
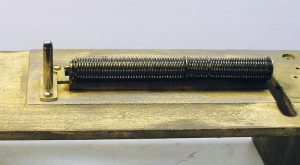
Check center post for a wear groove, if too deep a new center post will have to be made.
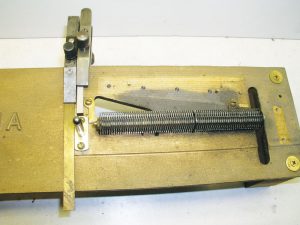

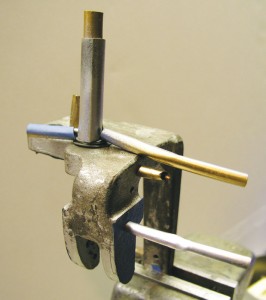
Removing the center post is not usually necessary but if it must be removed the following is a useful technique. Follow these instructions closely so that the center post can be put back in exactly the same position as it was. Clamp metal bars to hold the bracket position side to side as well as up and down as shown. This way the bracket can be perfectly repositioned during reassembly.
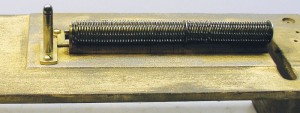
Check that the disc spacers and star wheels turn freely and that there are no flat spots on the spacers or bent star wheels. If a star wheel is bent it can probably be straightened in place by carefully bending the tip or bent part of the star wheel with a needle nose plier and then checking to make sure it turns freely. If a disc spacer has a flat spot it will have to be removed and a new one made. The removal and replacement should be done by an experienced music box repair person. If you remove it yourself you could damage the star wheel gantry.
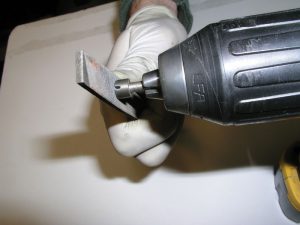
Any screws that have been removed should be inspected for any burrs caused by a slipping screw driver or other damage. These burrs, if present, can be removed by placing the screw in a drill motor to hold it and carefully filing the burr or if necessary turning the drill on with the screw head going in a direction toward a file held against its surface.
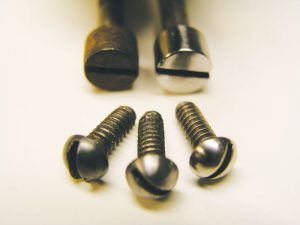
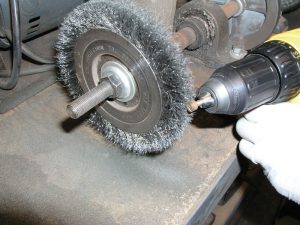
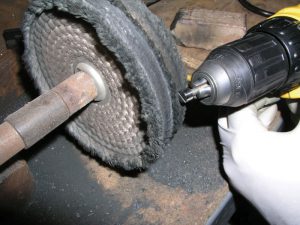
The screw head can be cleaned and wire brushed and/or polished using the drill motor while turning. The degree of polish will vary depending on the polish on the rest of the music box. Some music boxes have a high degree of polish on all of the parts and some have a satin appearance. Wire brushing will get the rust off and give a satin appearance, if a higher degree of polish is desired the screw can be buffed as well. A rotating drill motor is used to hold the screws during wire brushing or polishing so the screws won’t get lost and to protect your hands. It also gives a uniform finish and speeds up the process. Another method to give the screw heads a satin finish is to use a Scotch bright pad while turning the screw in the drill motor. Be careful to not get the screw head slot caught in the Scotch bright pad.
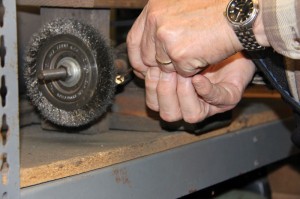

In addition the washers used under the comb screws can be polished with a wire wheel or buffer by placing the washer on a nail so that it is free to rotate against the nail head.
The nail is then placed with the head down and with the washer on the nail and resting up against the head of the nail. The washer to be polished is placed against a wire wheel or buffing wheel so that the wheel will brush or buff across the surface of the washer while giving the washer a slow spin.
Here again the type of finish desired will determine the method used.
Greasy parts can be cleaned using a surfactant type cleaner and washed off with water. Parts should then be dried off using compressed air and oiled or sprayed with a rust preventative right away to prevent rust.
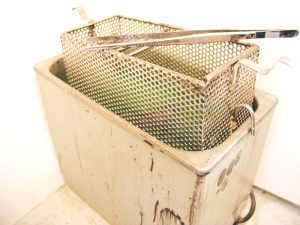
The small parts including the governor parts and all brass parts can be cleaned in clock cleaning solution using an ultrasonic cleaner. If any of these parts are appearance parts they should be polished as original. Either oil or lacquer should be used on all steel parts to prevent rust and lacquer should be used for brass appearance parts to retain the polished look.
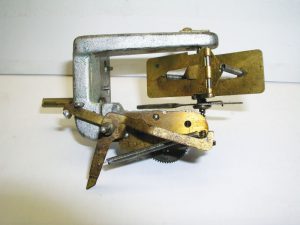
The governor should be disassembled and cleaned in clock cleaning solution using an ultrasonic cleaner for the smaller parts; the castings can be degreased as discussed above. Inspect all bearing pivots and bushings for wear, re-bush as necessary. Inspect the jewel used to take the thrust load from the endless screw. It should be flat with a mirror finish. If it is pitted it should be replaced with a new one of the same size. Inspect the governor springs for uniformity, if the springs are not uniform in size and length it will affect the balance of the governor and create noise.
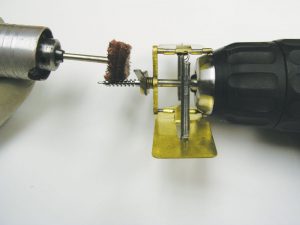
Next the endless screw should be polished to a mirror finish using a Dremel type tool with a small buffing wheel and jeweler’s rouge as shown. Be extremely careful to not put too much force on the endless screw, it only takes a small force. Hold the endless screw in a drill motor chuck and turn slowly while rotating the buffing wheel at a fast speed to polish the endless screw threads. The endless screw is very hard and brittle and will break very easily so be very careful when doing this polishing operation. The endless screw thread should come out with a mirror finish. Alternately a lathe can be used to hold and turn the endless screw while polishing with a Dremel type tool.
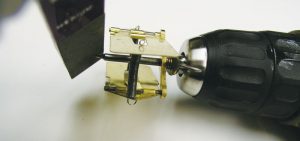
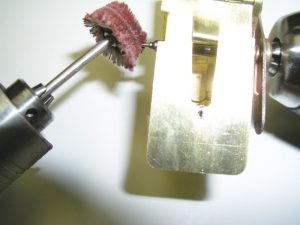
The thrust end of the endless screw needs to be rounded with a diamond card file and then polished to a mirror finish with the Dremel buffing wheel.
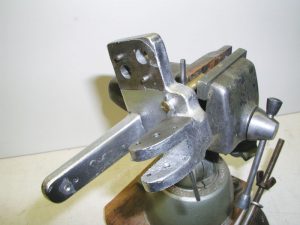
If the metal or cast parts were originally painted, repaint as original, masking off surfaces that mate with other parts.

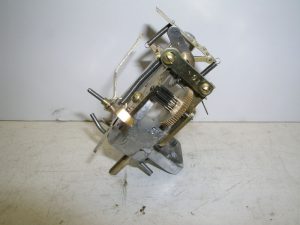
Now that all of the governor parts have been cleaned and polished it is time to reassemble the governor. First start with the side plates and the two gears that go between them and assemble these onto the casting or metal part that separates them.
They have dowel pins for alignment and are screwed in place. Once the metal plates are screwed in place with the gears in between them, check to see that the gears turn freely. Next assemble the endless screw with the fan blades into the pivot with the jewel and then put the other bearing plate in place. This plate is adjustable to vary the clearance between the endless screw and the leaf wheel (mating gear).
The leaf wheel gear should not bottom out in the endless screw thread but should be close to bottoming out.
Next oil the assembly using a good clock oil. Putting your finger on the larger gear in a direction that will move the endless screw toward the end thrust jewel, the governor should start up every time pressure is applied to the larger gear. If not, increase the clearance ever so slightly and try again. With a few tries the governor should start reliably. Do not increase the clearance to the point that the leaf wheel comes out of the endless screw thread more than half way. If it still won’t start there is probably a wear issue which will require a new endless screw or gear and maybe new bushings.

Back to the bedplate. We see here the bedplate with the center post reinstalled and polished. The bedplate needs to be degreased and wire brushed in preparation for painting.
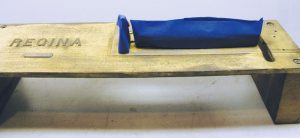
Now we mask off the bedplate and are ready to paint.
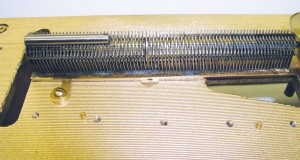
The bedplate is now painted gold and we are ready to align the star wheels with a dowel pin. This facilitates assessing how well the dampers are adjusted.
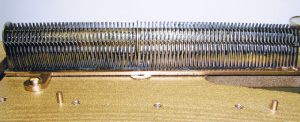
The dampers should all be uniform in appearance and positioned with tension against the star wheels. If this step is done carefully the dampers will most likely not need much attention later when the comb is installed.
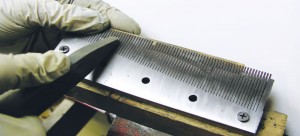
The comb is next degreased if necessary, and a Cratex abrasive bar is used to clean up surface grime and light rust from the comb without affecting tuning. The comb is mounted on a block of wood that is clamped in a vise and the comb teeth tips are supported by a small piece of wood.
The Cratex abrasive is stroked across the comb in the direction of the teeth tips so as to not leave any cross scratches while the teeth tips are supported with a small piece of wood. After the comb is cleaned in this manner the comb is sprayed with lacquer or oiled to prevent corrosion.
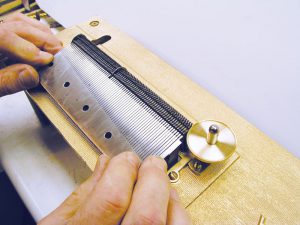
The comb is now positioned on the bedplate by carefully positioning the dampers between the comb teeth and engaging the dowel pins on the bedplate. The comb is now fastened to the bedplate with the comb screws and washers. These are tightened alternately until all screws are tightened evenly.
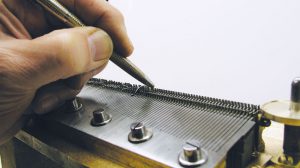
The dampers are now ready to be checked and adjusted if necessary. Each star wheel is turned until the comb tooth is plucked and the dampening action is observed both mechanically and with the ear to see how well each star wheel dampens the vibrating tooth note. The note of the plucked tooth should ring freely until the damper is moved up against it by the rotated star wheel. If necessary the tip of the damper is bent slightly to contact the tooth more or less so that the tooth is dampened correctly. Correct dampening is accomplished when the vibrating tooth motion is stopped before the star wheel comes in contact with the bottom of the tooth while moving the star wheel as if being moved by a rotating disc.
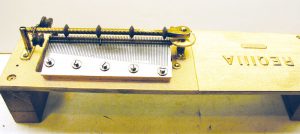
When the hold down pressure bar is installed it needs to be adjusted for a smooth closing action. The screws that mount the hinge end of the pressure bar need to be tightened a little at a time while checking the closing action of the pressure bar end over the center post. Move the mount until a smooth closing action without any binding is accomplished.

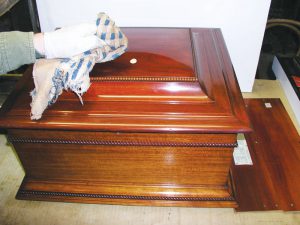
The case is cleaned with a special case cleaner that only removes old wax and dirt that has accumulated on the surface of the wood. It does not affect the original finish but restores it to its original color and beauty.
The case is now waxed with a color wax that gives it a nice luster and patina and hides any minor scratches.
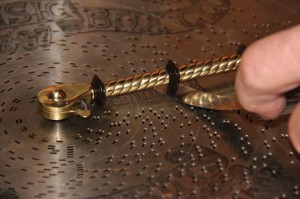
The music box mechanism is now assembled into the case and a disc is played to assess that everything is working as it should and the dampers are performing correctly. Also the disc to hold down roller clearance can be checked for proper clearance if the disc does not play correctly. The proper clearance is from .005” to .009”.
